Cloud computing is reshaping how businesses operate, and Apache CloudStack is at the forefront of enabling scalable cloud infrastructure. If you’re looking to harness the power of CloudStack in the stable and secure environment of AlmaLinux 9, you’re in the right place.
This guide will walk you through a streamlined installation process, ensuring you can deploy and manage robust cloud environments efficiently. Whether you’re a seasoned sysadmin or venturing into cloud technology for the first time, setting up CloudStack on AlmaLinux 9 will open new horizons.
Let’s dive in, get your system up and running, and explore the possibilities of your new configuration!
Setting Up Your AlmaLinux 9 Environment
Before diving into the CloudStack installation, it’s crucial to ensure your AlmaLinux 9 environment is ready and primed for a smooth setup. A little preparation goes a long way in avoiding hiccups later on.
Update System Packages
First things first, let’s ensure your system is up to date. Open your terminal and run the following commands to update the system packages:
sudo dnf update -yThis command will fetch the latest versions of packages and apply essential security patches, keeping everything in top shape.
Install Required Dependencies
CloudStack relies on several dependencies to function smoothly. Install these necessary packages with the following command:
sudo dnf install -y java-11-openjdk wget epel-releaseJava is critical since CloudStack utilizes it extensively. The EPEL repository gives access to additional packages that will support your CloudStack installation.
That’s it for the setup! With your system packages updated and dependencies in place, you’re ready to move on to the next exciting steps.
Downloading CloudStack Installer
Before you can install CloudStack, you need to get your hands on the latest version of its installer. This section will guide you through downloading and verifying the installer, so you’re all set to proceed.
Obtain the Latest CloudStack Release
Head over to the official Apache CloudStack downloads page to find the latest release. Run the following command in your terminal to download the installer:
wget https://downloads.apache.org/cloudstack/{version}/apache-cloudstack-{version}-bin.tar.bz2Make sure to replace {version} with the version number you want to install. It’s always advisable to choose the most recent version to benefit from the latest features and security updates.
Verify the Downloaded File Integrity
Once downloaded, it’s important to verify the file’s integrity to ensure it hasn’t been tampered with. Apache provides checksum files for this purpose. Use the sha256sum command like so:
sha256sum apache-cloudstack-{version}-bin.tar.bz2Compare the output with the checksum provided on the CloudStack downloads page. A match means your download is secure and ready to go!
Configuring the CloudStack Repository
To smoothly install CloudStack, you’ll need to configure a YUM repository. This will ensure you can easily access and install the necessary packages.
Add CloudStack YUM Repository
To start, you need to add the CloudStack repository to your AlmaLinux 9. Open your terminal and create a new YUM repository file like this:
sudo nano /etc/yum.repos.d/cloudstack.repoNow, add the following content to the file:
[cloudstack]
name=Apache CloudStack
baseurl=http://download.cloudstack.org/centos/9/4.18/
enabled=1
gpgcheck=0
This configuration ensures your system can locate the CloudStack packages efficiently. Once you’ve added this, save and exit the editor.
That’s it! With the CloudStack repository configured, you’re all set to install CloudStack components seamlessly from YUM.
Running the CloudStack Installation
With your environment prepared and the installer ready, it’s time to bring CloudStack to life on your AlmaLinux 9 system. Let’s get started with the installation and initial setup!
Execute the Installer
First, navigate to the directory where you’ve downloaded and extracted the CloudStack installer. Open your terminal and locate your installer with the following:
cd /path/to/apache-cloudstack-{version}Run the installation script to begin the setup process:
sudo ./install.shFollow the on-screen prompts, which will guide you through the configurations needed to set the foundation of your CloudStack environment.
Complete Initial Configuration
Once the installation is complete, you’ll need to initiate some basic configurations to get things rolling. Run:
sudo cloudstack-setup-managementThis command will configure key management components. You’ll be prompted to provide details like your database configuration and networking preferences, so have those handy.
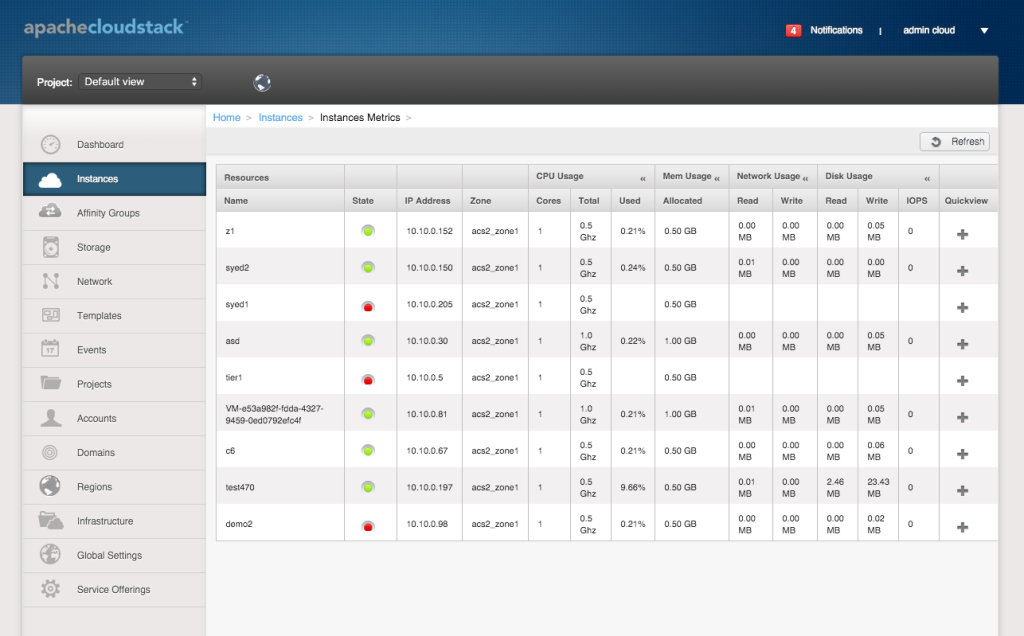
Once everything is set up, access the CloudStack UI via your web browser to start managing your cloud infrastructure. You’re now equipped with a powerful tool to deploy and manage virtualized environments effortlessly!
Conclusion
Congratulations on successfully setting up CloudStack on AlmaLinux 9! By following these steps, you’ve laid a solid foundation for cloud infrastructure that can handle various workloads with ease and efficiency.
With your environment ready, you can now focus on exploring CloudStack’s diverse features, from managing resources to setting up virtual data centers. This powerful tool will enhance your ability to scale operations and streamline IT processes seamlessly.
Stay curious, keep experimenting, and enjoy the endless possibilities your new cloud setup offers. Cloud computing just became a whole lot more accessible!


