Are you ready to transform your Debian 13 system into a powerful virtualization powerhouse? If so, you’ve come to the right place! Proxmox, a robust open-source virtualization platform, can help streamline your operations, making it a top choice for both professionals and hobbyists.
In this guide, we’ll walk you through the installation and configuration of Proxmox on Debian 13, unraveling complexities in simple terms. Whether you’re setting up your first virtual environment or looking to enhance your current configuration, you’ll find this tutorial helpful.
Proxmox combines versatility, efficiency, and advanced features, providing everything you need to run virtual machines and containers smoothly. Let’s dive into the essentials that will have your system up and running in no time.
Preparing Your System for Proxmox Installation
Before diving into the installation, a little preparation goes a long way. Ensuring your system meets the necessary requirements and is up-to-date will set a solid foundation for a successful Proxmox setup. Let’s break it down step-by-step.
Checking System Requirements
Start by checking if your server meets Proxmox’s basic system requirements. You’ll need a 64-bit CPU, hardware virtualization support (Intel VT-x or AMD-V), and at least 2 GB of RAM. However, for smoother performance, especially with multiple VMs, consider having at least 8 GB of RAM.
Make sure you have sufficient disk space, as Proxmox will handle various VMs and containers. A minimum of 10 GB is necessary, but more storage helps accommodate expanding needs.
Updating Debian 13 Before Installation
Having an updated Debian 13 system paves the way for a hassle-free experience. Begin by opening a terminal and typing the following commands:
sudo apt update sudo apt upgrade
This ensures all packages are current. After updating, reboot your system to apply changes:
sudo reboot
With your system requirements in check and Debian up-to-date, you’ll be all set for the installation process.
Installing Proxmox on Debian 13
With the prep work out of the way, it’s time to get Proxmox rolling on your system. The installation process is straightforward, but it requires a few key steps to ensure everything is set up properly.
Downloading Proxmox Packages
To kick things off, you’ll need to add the Proxmox repository to your Debian 13 system. This allows you to download the necessary packages directly. Start by opening a terminal and entering:
echo "deb http://download.proxmox.com/debian/pve bullseye pve-no-subscription" | sudo tee /etc/apt/sources.list.d/pve-install-repo.list
After adding the repository, import the Proxmox archive key to verify package authenticity:
wget -qO - http://download.proxmox.com/debian/proxmox-ve-release-7.x.gpg | sudo apt-key add -
Running the Installation Command
With everything set, update your package lists and proceed with the installation. Enter the following commands:
sudo apt update sudo apt install proxmox-ve postfix open-iscsi
During this process, select ‘local only’ for postfix configuration unless you have specific email arrangements.
Once completed, Proxmox will be installed on your system. Reboot the system to apply the changes:
sudo reboot
Congratulations, you now have Proxmox installed, ready for further configuration!
Post-Installation Configuration of Proxmox
With Proxmox successfully installed on your Debian 13 server, it’s time for some post-installation tweaks. Configuring Proxmox correctly ensures a seamless, efficient performance tailored to your needs. Let’s focus on setting up the essentials.
Initial Setup and Configuration
Start by accessing the Proxmox web interface. Open your browser and navigate to:
https://your-server-ip:8006
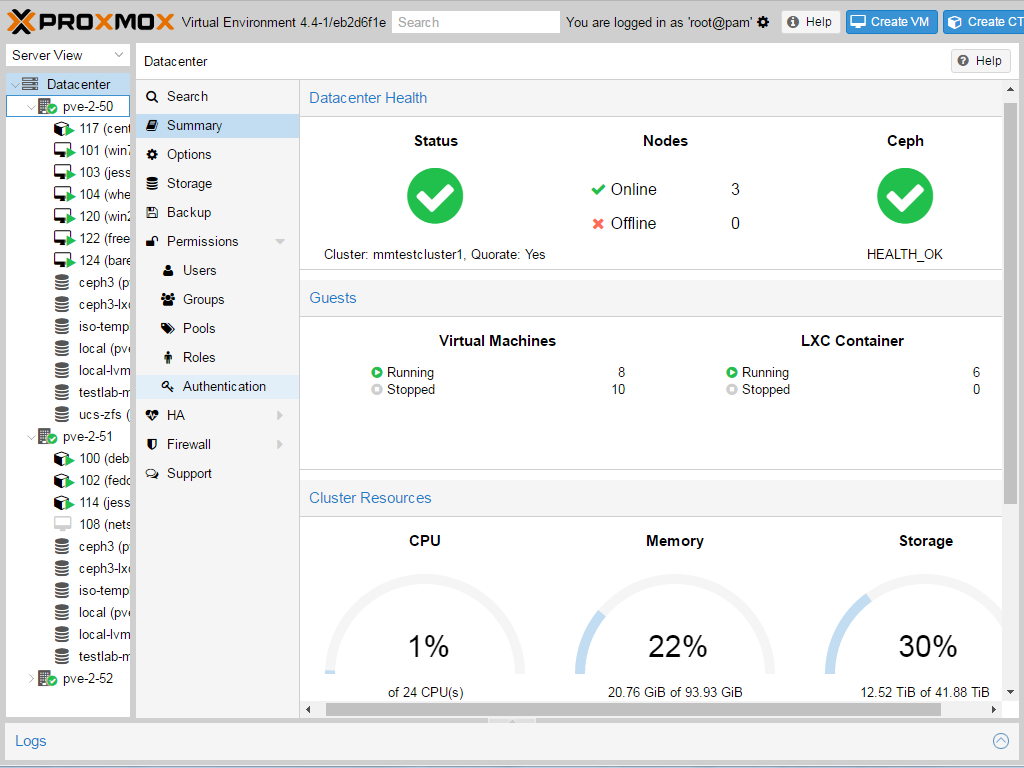
Log in using the root credentials of your Debian system. Once in, you’ll be greeted by the intuitive Proxmox dashboard.
First, set up networking to ensure your VMs have proper internet access. Configure network bridges under [Datacenter] → [Node] → [Network]. Add a bridge by selecting “Create” and configure it according to your network setup.
Next, consider setting up storage for your virtual machines under the [Datacenter] → [Storage] section. Proxmox supports various storage types, such as local directory, NFS, and Ceph.
Finally, secure your system by configuring backups and enabling two-factor authentication. Navigate to the [Datacenter] → [Backups] section to schedule regular backups, safeguarding your data.
With these configurations in place, you’re all set to unleash the full potential of Proxmox on your Debian 13 system!
Managing Virtual Machines in Proxmox
With Proxmox up and running, you’re ready to delve into the management of virtual machines (VMs). Whether you’re experimenting or deploying vital applications, managing VMs is at the core of Proxmox’s capabilities.
Creating a Virtual Machine
To kickstart your virtual machine journey, navigate to your Proxmox web interface. In the navigation panel, select the node where you want the VM to reside, then click on “Create VM” at the top.
Fill in the details like VM ID, name, and the storage you wish to use. Choose an ISO image from your storage as the installation medium.
Moving on, configure the hardware settings. Allocate your CPU cores, select the desired memory, and specify disk space, considering your project’s demands. Once done, review your setup and click “Finish” to create your VM.
Configuring Network Settings
After your VM is set up, network configuration is crucial for connectivity. Within the VM settings, navigate to the “Network” tab.
Add a network device by clicking “Add”, then select “Bridge”. Make sure to assign the correct bridge interface, for example, vmbr0, to allow internet access or LAN communication.
Save your changes, and your virtual machine will be ready to connect with the outside world! Through Proxmox’s intuitive interface, managing network settings is a breeze, ensuring your VMs are fully operational on your network.
Conclusion: Enhancing Your Debian 13 with Proxmox
Congratulations on making it through the installation and configuration journey! By integrating Proxmox with Debian 13, you’ve unlocked a world of virtualization possibilities right at your fingertips.
Proxmox’s seamless interface and powerful features transform your server into a dynamic, flexible environment capable of handling various virtual machines and containers with ease. This setup not only enhances your system’s capabilities but also offers a scalable solution for future growth.
As you start deploying VMs or experimenting with containers, continue to explore Proxmox’s extensive features. Whether it’s configuring additional network settings, managing storage solutions, or optimizing performance, Proxmox equips you with the tools you need.
Welcome to your new, streamlined virtual environment! You’re all set to maximize the potential of your Debian 13 system with Proxmox. Enjoy the flexibility and power now at your command.


