OpenNebula makes it easy to manage a cloud environment, whether it’s private, public, or hybrid. By installing OpenNebula on Ubuntu 24.04, you can create and manage virtual machines with ease, all while keeping full control over your resources.
In this guide, we’ll walk you through each step of the installation and configuration process. From setting up the necessary prerequisites to launching and managing your first virtual instance, you’ll have OpenNebula up and running in no time.
Whether you’re a seasoned sysadmin or just starting out, this tutorial ensures that you have everything you need to get started with this powerful cloud management platform. Let’s dive in!
Installing OpenNebula on Ubuntu 24.04
The installation of OpenNebula on Ubuntu 24.04 is a straightforward process. We’ll guide you step-by-step, ensuring that your setup is both smooth and successful. With the right preparation, you’ll have OpenNebula ready to go in no time.
System Requirements for OpenNebula
Before diving in, it’s essential to ensure your system meets the necessary requirements. OpenNebula runs efficiently on most modern hardware setups, but here’s a quick checklist:
- CPU: Multi-core processor recommended
- Memory: At least 4GB of RAM
- Storage: Minimum of 40GB disk space
- Network: Stable internet connection for downloads and remote management
These foundational requirements will help you achieve optimal performance and reliability for your cloud infrastructure.
Preparing Ubuntu for Installation
To get Ubuntu 24.04 ready for OpenNebula, a few preparatory steps are necessary. Start by updating your system’s package list and installing essential packages:
sudo apt update && sudo apt upgrade -y sudo apt install wget gnupg2 lsb-release -y
Next, you’ll need to add the OpenNebula repository and import its GPG key:
wget -q -O- https://downloads.opennebula.io/repo/repo.key | sudo apt-key add - echo "deb https://downloads.opennebula.io/repo/6.0/Ubuntu/24.04 stable opennebula" | sudo tee /etc/apt/sources.list.d/opennebula.list
With these steps completed, your system is now prepared for installing OpenNebula. Let’s move forward to get everything set up!
Configuring OpenNebula Front-end
Once OpenNebula is installed, it’s time to configure your front-end. The front-end is the brain of your cloud setup, managing all core functionalities. Begin by editing the configuration files located in /etc/one/. Pay special attention to setting up database credentials and network configurations.
The OpenNebula daemon, oned, runs with systemd. You can manage it using:
sudo systemctl start opennebula sudo systemctl enable opennebula
Verify everything is running smoothly by checking the system’s status and logs. This ensures that your front-end is properly communicating with your back-end services.
Setting up the OpenNebula Repository
Positioning your Ubuntu system to access the OpenNebula repository is key. This repository hosts all the necessary packages and updates. Begin by importing the OpenNebula GPG key using:
wget -q -O- https://downloads.opennebula.io/repo/repo.key | sudo apt-key add -
Next, create a new repository entry:
echo "deb https://downloads.opennebula.io/repo/6.0/Ubuntu/24.04 stable opennebula" | sudo tee /etc/apt/sources.list.d/opennebula.list
Once added, update your package list:
sudo apt update
Installing OpenNebula Packages
With your repository configured, installing OpenNebula packages is straightforward. Start with the key packages:
sudo apt install opennebula opennebula-sunstone
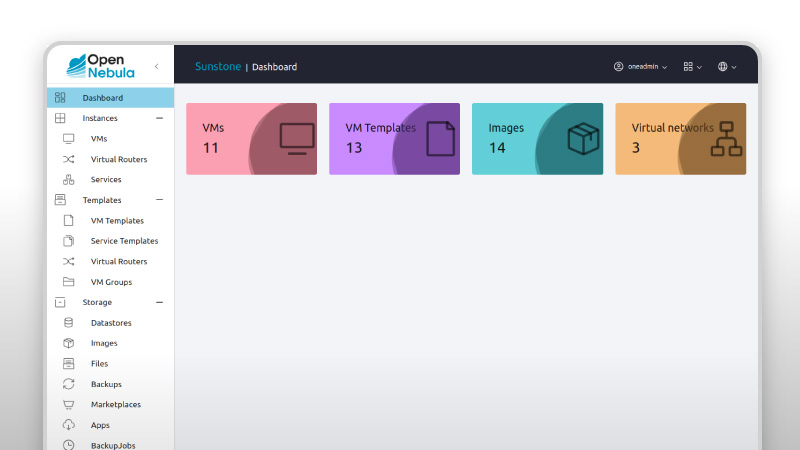
This command installs OpenNebula along with its web interface, Sunstone. Sunstone provides a user-friendly, browser-based approach to managing your cloud setup.
After installation, restart the OpenNebula service for the changes to take effect:
sudo systemctl restart opennebula
You’re now ready to explore the powerful features OpenNebula brings to your cloud environment! If you’re interested in other cloud platforms, you might also want to explore CloudStack on AlmaLinux 9.
Deploying OpenNebula Node
Once your front-end is operational, it’s time to deploy your OpenNebula node. This node acts as the powerhouse, hosting your virtual machines. Begin by installing a compatible hypervisor like KVM. Ensure the node is in the same network as your front-end for seamless communication.
On your node, install OpenNebula packages to facilitate node management. This integration allows the front-end to efficiently dispatch tasks and monitor the node’s status in real-time.
Configure Networking for OpenNebula Node
Networking is crucial for your node’s ability to interact with both the front-end and other networked devices. Begin by configuring a static IP address or a DHCP reservation to ensure consistency. This will help maintain a robust connection and avoid IP conflicts.
Next, ensure that your node can communicate over the necessary ports. Modify any firewall rules to permit traffic between the front-end and node.
Install Node-Specific Components
Installing node-specific components is the final step. For KVM nodes, install the qemu-kvm package, which includes vital virtualization utilities. Additionally, you’ll need to install tools like libvirt to manage virtual machines.
Execute the following command:
sudo apt install qemu-kvm libvirt-bin
This setup empowers your node to host and manage virtual machines effectively, completing your OpenNebula environment. Now, you’re ready to provision resources and fully harness the capabilities of your cloud infrastructure!
Securing Your OpenNebula Installation
Once OpenNebula is installed and running smoothly, it’s crucial to focus on securing your environment. With cloud infrastructure being a tempting target for attacks, implementing security measures is a must.
Start by ensuring your OpenNebula server has limited access. Use firewalls to restrict external traffic to only the necessary ports. Additionally, it’s essential to change default passwords and regularly update them to maintain a secure environment.
Basic Security Practices
Incorporating basic security practices is key to safeguarding your OpenNebula setup. Keep your software up to date by applying patches and updates as soon as they’re released. This minimizes vulnerabilities and strengthens your system’s defenses.
Enable SSH key authentication to boost security when accessing your server.
Disable root login to further enhance protection against unauthorized access.
Regularly auditing your logs can also reveal suspicious activity. By staying vigilant and adopting these practices, you ensure that your OpenNebula installation remains secure and resilient against potential threats.
Conclusion on Installing and Configuring OpenNebula on Ubuntu 24.04
And there you have it! You’ve successfully set up and configured OpenNebula on Ubuntu 24.04. This journey, from preparing your system to running your first virtual machines, has equipped you with the skills to manage your cloud environment efficiently.
By leveraging OpenNebula, you’ve tapped into a flexible and powerful cloud management solution. Whether expanding your infrastructure or experimenting with new configurations, you’re now empowered to optimize your cloud resources according to your needs.
Remember, the cloud technology landscape changes quickly, so keep exploring and learning. With OpenNebula, you’re well-positioned to adapt and scale your setup as your requirements evolve. Congratulations on taking this significant step into advanced cloud computing!


