How To Install And Configure MailCow On Almalinux 9
Are you ready to dive into the world of self-hosted email solutions? MailCow is one of the best open-source platforms for managing your email systems, offering a robust and feature-rich experience. Whether you’re setting it up for your organization or personal use, MailCow aims to bring versatility to your email management with its simplicity and power.
AlmaLinux 9 is the perfect host for MailCow, providing a solid and secure backbone. With its compatibility with RHEL-based distributions and community-driven approach, AlmaLinux ensures you get the stability and updates necessary for your MailCow deployment.
In this guide, we’ll walk you through each step of the installation and configuration process, making it easy for you to set up your own MailCow environment on AlmaLinux 9. We’ll break down the technical jargon, ensuring you have a smooth setup journey without the headaches. So, roll up your sleeves, and let’s embark on this installation adventure together!
Prerequisites for Installing MailCow on Almalinux 9
Before you jump into the installation process, let’s ensure you’re fully prepared. Gathering the necessary information and tools beforehand will save time and streamline your setup.
MailCow requires a few essential prerequisites to function efficiently. You should have a fresh installation of AlmaLinux 9, a stable internet connection, and root access to execute commands. It’s also beneficial to have a basic understanding of Linux terminal commands, but don’t worry if you’re new. This guide will simplify each step for you!
Required System Specifications
Running MailCow smoothly depends on some minimum system requirements. You’ll need at least 2 CPU cores and 4GB of RAM to handle the email processing loads effectively. For disk space, it’s advisable to have at least 20GB free, although more can be beneficial to accommodate future growth and backups.
Ensure your server’s hostname is configured with a valid Fully Qualified Domain Name (FQDN). This setup step is crucial because MailCow configures email services aligned with the FQDN.
Installing Necessary Dependencies
Let’s tackle the dependencies required to support MailCow. Start by updating your system packages:
sudo dnf update -y
Next, you’ll want to install wget, git, docker, and docker-compose. These tools are vital for downloading files, automating installations, and running MailCow in a containerized environment:
sudo dnf install wget git docker docker-compose -y
Remember to start and enable Docker to ensure it’s ready to go:
sudo systemctl start docker sudo systemctl enable docker
With these elements in place, your server is fully equipped to proceed with the MailCow installation. Now, let’s get into the main setup process!
Downloading and Setting Up MailCow
With your server prepped and dependencies installed, it’s time to dive into downloading and setting up MailCow. This section will guide you through acquiring the necessary files and getting them ready for configuration.
Cloning the MailCow Repository
MailCow is hosted on GitHub, making it super convenient to clone the necessary repository straight to your server. First, navigate to the directory where you want MailCow to reside:
cd /opt
Then, proceed to clone the MailCow repository using Git:
git clone https://github.com/mailcow/mailcow-dockerized
This command retrieves the latest version of MailCow, placing all the necessary files and scripts on your server. It’s a straightforward process, but essential to ensure you have everything you’ll need for configuration.
Configuring Docker and Docker Compose
Now that you’ve got the files, it’s time to configure Docker and Docker Compose to support MailCow’s operations. Begin by navigating to the MailCow directory:
cd mailcow-dockerized
Once you’re inside, copy the configuration file to initiate your own setup:
cp mailcow.conf.example mailcow.conf
Next, adjust any settings in mailcow.conf to meet your specific needs. After these tweaks, you’re all set to use Docker Compose to launch your MailCow stack smoothly:
docker-compose pull docker-compose up -d
Don’t worry, it’s quite simple, but it’s also a crucial step to get MailCow up and running efficiently. You’re almost there—keep going!
Configuring MailCow Components
Once your MailCow instance is up and running, it’s time to configure its components for optimal performance. Start with accessing the MailCow web interface. You can do this by navigating to your server’s IP address or domain in a web browser. Log in using the default credentials provided during setup.
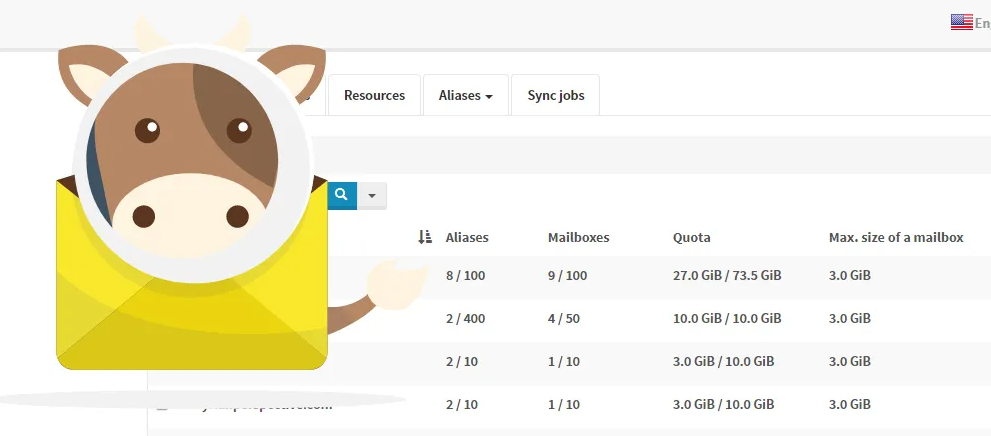
In the admin panel, tailor the settings to match your needs. You can manage domains, mailing lists, and accounts here. It’s straightforward, just explore each tab to understand the multiple options available for customization and optimization.
Setting Up Mail Server DNS Records
A reliable email server setup isn’t complete without proper DNS configuration. You’ll need to create and update DNS records to ensure the smooth delivery of emails from your server.
Begin with setting up MX (Mail Exchange) records to direct emails to your MailCow server. Additionally, configure SPF (Sender Policy Framework) and DKIM (DomainKeys Identified Mail) records to enhance email security and delivery rates. These records help verify your server’s authenticity, reducing the chance of your emails being flagged as spam.
Customizing MailCow Configuration Files
Fine-tuning MailCow’s configuration files elevates your server’s efficiency. Dive into the mailcow.conf file, found in your MailCow directory. Here, you can tweak parameters like port numbers, memory limits, and backup locations.
Adjust these settings according to your server’s capabilities and your specific organizational requirements. Remember, keeping a backup of original files before making changes is always a smart move. This way, you have a safety net to fall back on if things don’t pan out as expected.
Verifying MailCow Installation and Troubleshooting
Once MailCow is installed, it’s time to verify the setup. First, ensure all Docker containers are running smoothly by executing:
docker-compose ps
Each container should have an “Up” status. If something seems off, a quick restart can often solve minor glitches:
docker-compose restart
Now that your containers are up, head over to the MailCow admin interface by navigating to your server’s IP address or domain. Log in and check if all services are green-lit. If issues persist, the logs will be your go-to for insight. Use:
docker-compose logs --tail=100
This command will display the latest logs, highlighting any underlying problems.
Testing Mail Sending and Receiving
Testing your setup ensures your MailCow server functions as expected. Start by creating a test email account in the admin dashboard. Use a mail client or webmail to send a message to an external address, then reply to test email reception.
Ensure both sending and receiving work flawlessly. Pay attention to any errors, particularly around connection failures or authentication issues, which could indicate configuration tweaks are needed. With testing complete, you’ll have confidence that your setup is working correctly.
Common Issues and How to Resolve Them
As with any tech setup, hiccups can occur. One common issue is emails landing in spam, often linked to incorrect SPF or DKIM configurations. Double-check your DNS records for accuracy.
If connectivity issues arise, verify firewall settings and ensure ports 25, 80, 443, and 587 are open. Another frequent problem is memory overload, which can be tackled by allocating more resources to your VM if needed.
Remember, the community forums and MailCow documentation are invaluable resources. Lean on these tools to overcome roadblocks and keep your server running smoothly. For further knowledge on hosting mail solutions on the same OS, you can explore the AlmaLinux/CentOS tutorials.
Conclusion
And there you have it! You’ve successfully navigated through installing and configuring MailCow on AlmaLinux 9. This journey not only sets up a powerful email server but also gives you more control over your communications and enhances data security.
By opting for a self-hosted solution like MailCow, you’ve taken a significant step towards digital independence. With everything configured, you can now dive into managing your email services with confidence and ease, enjoying the features MailCow brings to the table.
Remember, the community and support forums are always available if you want to explore further enhancements or run into any roadblocks. Keep your system and Docker containers updated to ensure smooth operations and security.
Congratulations on your new MailCow setup! Enjoy the flexibility and reliability of your new, personalized email server. Happy emailing!


