Whether you’re a beginner or a seasoned tech professional, mastering ISPConfig on Ubuntu 24.04 can streamline your server management experience like never before. This guide walks you through installation and configuration, ensuring you harness the full potential of your Ubuntu setup.
With ISPConfig, you can manage multiple services from web and email to DNS, all in one place. Ready to turn your Ubuntu 24.04 server into a robust hosting environment? Let’s dive in and unlock a seamless process of setting up your server for optimal performance!
System Requirements for ISPConfig on Ubuntu 24.04
Before embarking on the installation journey, ensuring that your system meets the necessary requirements is crucial. This preparation step will save you time and headaches down the road.
First, verify that you’re operating on Ubuntu 24.04. This guide specifically targets this version to ensure compatibility and a smooth setup. Your server should be running with at least 2 GB of RAM to handle the processes efficiently, although 4 GB or more is recommended for optimal performance.
You’ll also want to make sure you have a minimum of 20 GB of available disk space. This storage will cover both the ISPConfig installation and the websites and services you plan to manage.
Lastly, a stable internet connection is essential, as you’ll be downloading various packages and updates throughout the installation process. With these resources at your disposal, you’re all set to launch into installing and configuring ISPConfig with confidence!
Installing Prerequisites for ISPConfig
Before diving into the ISPConfig setup, it’s crucial to prepare your Ubuntu 24.04 system with the necessary prerequisites. This initial groundwork will set the stage for a smooth installation and optimal performance.
Update and Upgrade Packages
First things first, ensure your system is up-to-date. Open your terminal and run the following commands:
sudo apt update sudo apt upgrade -y
This step updates your package list and installs the latest versions of your system’s software, ensuring enhanced security and functionality.
Installing Required Software
Next, you’ll need to install essential software that ISPConfig depends on. Start by installing the Apache web server, MariaDB, PHP, and other crucial components with this command:
sudo apt install apache2 mariadb-server mariadb-client php php-mysql php-xml php-mbstring -y
Additionally, secure MariaDB and make necessary adjustments for enhanced security:
sudo mysql_secure_installation
Follow the on-screen instructions to set up a strong root password and remove any unnecessary features.
By completing these steps, you’ve laid a solid foundation for the ISPConfig installation, ensuring all necessary components are in place and up-to-date.
Downloading and Installing ISPConfig
Once your system is primed and ready, it’s time to download and install ISPConfig. This step will enable you to consolidate your server management tasks under one intuitive interface.
Start by navigating to the ISPConfig website to grab the latest version of the software. Alternatively, you can use the terminal to download it directly. Enter the following commands:
cd /tmp wget -O ispconfig.tar.gz http://www.ispconfig.org/downloads/ISPConfig-3-stable.tar.gz
This command downloads the compressed ISPConfig package to your server.
Next, extract the downloaded package:
tar xvfz ispconfig.tar.gz
Change into the extracted directory:
cd ispconfig3_install/install/
Now you’re all set to run the installation script. Execute the following command:
sudo php -q install.php
The installer will guide you through several configuration options. Pay attention to each choice, as these will tailor the setup to your specific needs.
Congratulations! You’ve now installed ISPConfig, paving the way for efficient management of your web hosting environment on Ubuntu 24.04.
Configuring ISPConfig on Ubuntu 24.04
Once ISPConfig is installed, the next step is configuring it to suit your server management needs. This configuration ensures that all services run smoothly and efficiently.
Initial Configuration Settings
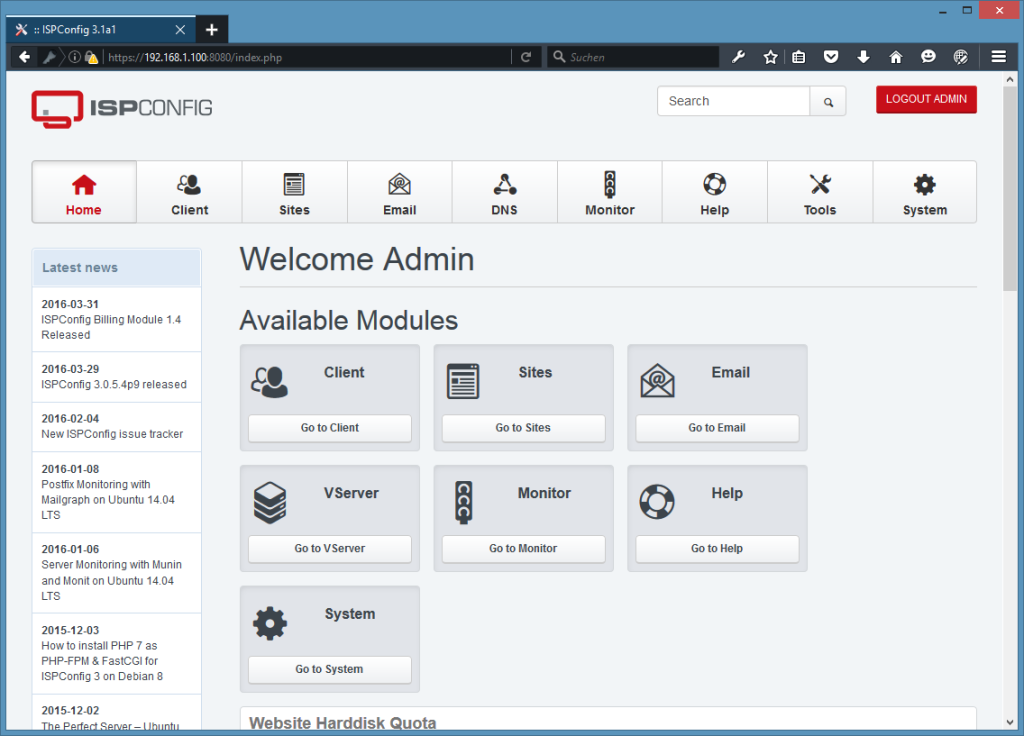
Log in to the ISPConfig interface using your browser. Use the server’s IP address or domain name, followed by port 8080, such as http://your-server-ip:8080. Enter the default credentials you set during installation.
Once logged in, dive straight into the Configuration panel. Here, you’ll make key decisions about your server setup. Start by confirming the basic server details under “Server Manager” and ensure that you’ve assigned a suitable hostname and configured DNS settings for your domain.
Next, move to the “Services” section, where you can enable and configure services such as web, DNS, and email according to your requirements.
Don’t forget to update your admin password to something robust. It’s also a good idea to set up additional user accounts if more than one person will manage the server.
These initial settings lay the groundwork for a well-organized hosting environment, paving the way for smooth operations and easy management of your web services.
Conclusion: Final Steps and Best Practices
Congratulations on setting up and configuring ISPConfig on your Ubuntu 24.04 server! With everything in place, it’s time to ensure your system runs smoothly and securely.
Regularly update your server’s software and ISPConfig to protect against vulnerabilities. Schedule automated backups to safeguard your data and make recovery straightforward in case of issues.
Monitor server performance using built-in tools and address any anomalies swiftly to maintain optimal uptime. Fine-tune your settings for services like web and email to align with your specific needs.
Lastly, consider exploring the rich ISPConfig community and documentation. They are invaluable resources for troubleshooting and getting the most out of your new setup.
With these best practices, you’ll maintain a well-organized, efficient, and secure hosting environment ready for any challenge. Happy hosting!


