How To Install And Configure Cockpit On Ubuntu 24.04
Managing your server’s performance and health should be as seamless as steering a ship on calm waters. Luckily, the Cockpit tool, a web-based graphical interface for Linux, is here to make that voyage smooth and efficient.
Cockpit allows you to monitor system metrics, manage updates, and even troubleshoot issues without diving into complex terminal commands. Plus, it’s lightweight and sleek, offering real-time system analysis through a user-friendly dashboard.
In this guide, we’ll walk you through installing and configuring Cockpit on the newly released Ubuntu 24.04. Whether you’re a novice or seasoned system administrator, setting up Cockpit is simple and incredibly valuable.
Prepare to navigate your Ubuntu 24.04 server landscape effortlessly with Cockpit at the helm, ensuring everything from performance metrics to system logs is just a few clicks away. Let’s dive in!
Installing Cockpit: Prerequisites and Initial Steps
Before setting sail with Cockpit, ensure your Ubuntu 24.04 system is ready for installation. We’ll cover system requirements and preparatory steps to get you started swiftly.
System Requirements for Cockpit
Cockpit is designed to be lightweight, which means it doesn’t demand much from your system. Typically, if your server handles Ubuntu 24.04 comfortably, it’s ready for Cockpit.
However, a stable internet connection and a modern web browser for accessing Cockpit’s interface are key. You’ll also need sudo privileges to execute installation commands.
Preparing Ubuntu 24.04 for Cockpit
Begin by updating your system packages. This ensures everything is current, reducing potential hiccups:
sudo apt update && sudo apt upgrade -yChecking that your firewall allows traffic on ports 9090—the default port for Cockpit—keeps the path clear for access:
sudo ufw allow 9090/tcpFinally, verify your server has a hostname. This assists in accessing Cockpit via a domain instead of solely relying on an IP address. Use:
hostnamectl set-hostname your-server-nameWith these steps complete, your Ubuntu system is prepared to welcome Cockpit aboard. Next, we’ll hoist sails and get Cockpit installed!
Step-by-Step Guide to Installing Cockpit on Ubuntu
Ready to get Cockpit up and running on your Ubuntu 24.04 server? Let’s dive into the installation process step-by-step. This straightforward guide ensures you’ll have Cockpit installed and operational in no time.
Adding Cockpit Package Repository
First things first, let’s add the Cockpit package repository. Doing this ensures you have access to the latest version. Open your terminal and execute the following command:
sudo add-apt-repository ppa:cockpit-project/cockpitAdding the repository makes sure you’re pulling in fresh updates straight from the source, keeping your Cockpit version current.
Installing Cockpit via APT
With the repository in place, we can now install Cockpit using APT. This method is reliable and lets you swiftly fetch any missing dependencies.
Start by updating the package list:
sudo apt updateThen, install Cockpit by running:
sudo apt install cockpit -yAPT handles the rest, swiftly setting up Cockpit on your system. Once installed, Cockpit runs automatically, ready for action.
Next, we’ll configure Cockpit for seamless usage—making sure it’s smooth sailing from here on out!
Configuring Cockpit for Optimal Performance
Now that Cockpit is installed, it’s time to optimize its performance to suit your needs. Fine-tuning settings and enabling additional features can supercharge your experience, ensuring smooth and secure operations.
Adjusting Firewall Settings for Cockpit
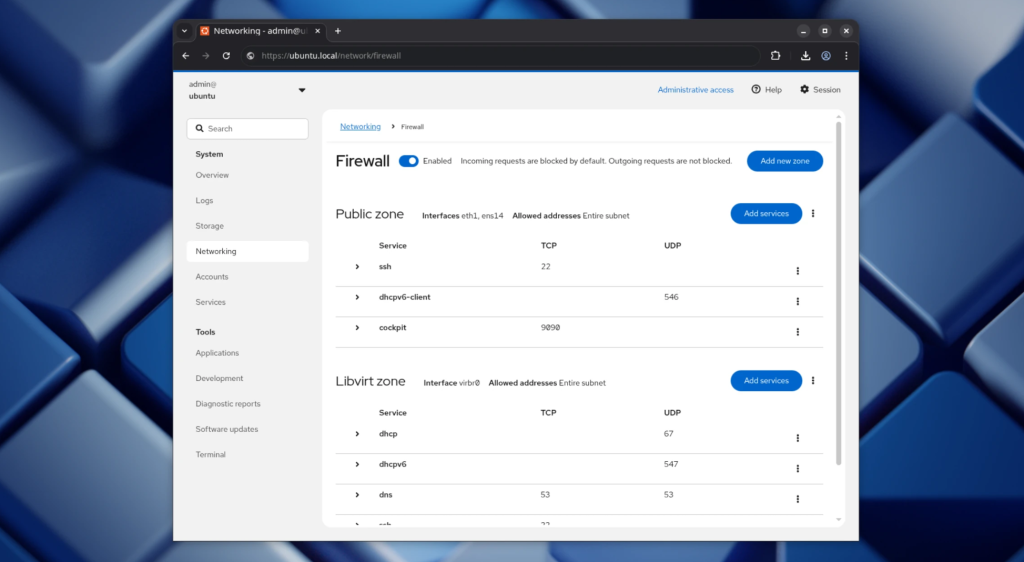
For Cockpit to function seamlessly, it’s essential to have your firewall settings aligned. While we’ve allowed traffic on port 9090, double-checking firewall status is a wise step. Confirm Cockpit’s port is open:
sudo ufw statusIf necessary, adjust settings to grant access:
sudo ufw allow 9090/tcpThis keeps the pathway for incoming data unhindered, ensuring Cockpit remains accessible on your network.
Enabling Additional Cockpit Plugins
Enhance Cockpit’s functionality by enabling additional plugins suited to your specific needs. Plugins extend capabilities, allowing tasks like managing virtual machines or additional storage configurations.
To start, explore available plugins with:
sudo apt search cockpit-packageOnce you find suitable plugins, install them using APT. For example, to manage virtual machines, use:
sudo apt install cockpit-machinesActivating these plugins transforms Cockpit into a powerhouse of tools, tailored to your requirements. This ensures you’re equipped to handle various tasks efficiently and effectively.
Conclusion: Final Thoughts and Troubleshooting Tips
Congratulations! You’ve successfully navigated the installation and configuration of Cockpit on Ubuntu 24.04. With Cockpit in place, managing your server is now a breeze, allowing you to focus on what truly matters—optimizing and expanding your server’s capabilities.
If you hit any snags along the way, don’t worry. Common hiccups often stem from firewall configurations or authentication issues. Ensure that port 9090 is accessible and check your user permissions if you encounter access problems.
For persistent issues, Cockpit’s logs are invaluable. They offer insights into what might be going awry. You can often find them by visiting the system logs section within Cockpit’s interface or by checking /var/log/cockpit.log directly on your server.
Finally, remember that Cockpit is constantly updated. Keeping it and your plugins up-to-date ensures a secure and smooth experience. With these tools at your disposal, you’re well-equipped to manage your Ubuntu server with confidence and ease. Happy navigating!


