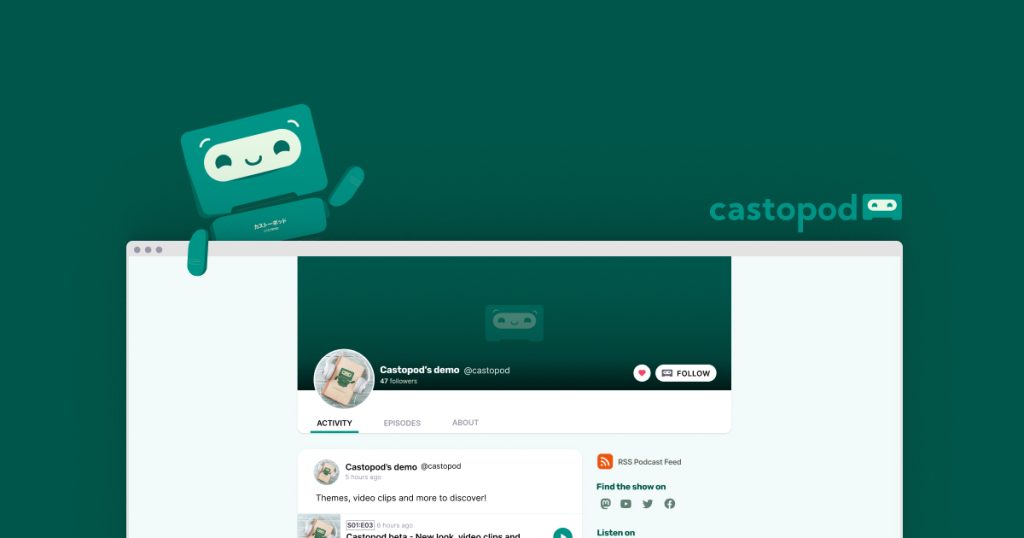
If you’re ready to dive into podcasting, setting up your own platform with Castopod could be the game-changer you need. Castopod is open-source and designed to make podcast management as smooth as your favorite broadcaster’s voice. Combine it with the robust stability of AlmaLinux 10, and you’ve got yourself a reliable setup.
But, installing Castopod on AlmaLinux 10 might seem daunting if you’re not familiar with server setups. Don’t worry, this guide is here to simplify the process.
We’ll walk you through each step, from initial installation to tweaking configurations, ensuring you have all the information you need to launch your podcasting journey with ease. Whether you’re a seasoned server pro or a first-time installer, this guide aims to make the experience hassle-free.
Get ready to unleash your creativity and broadcast your voice to the world. Let’s make setting up Castopod on AlmaLinux 10 a breeze!
Installing Dependencies for Castopod on AlmaLinux 10
Before diving into the installation of Castopod, getting the right dependencies in place is crucial. Dependencies ensure that Castopod will operate smoothly without running into unexpected hiccups. So, let’s make sure everything is ready to go.
Required Packages for Castopod
First things first: make sure your system packages are up to date. Open your terminal and run sudo dnf update to update any existing packages. Next, you’ll need to install essential tools, including Apache, PHP, and MariaDB. These form the backbone of your server environment.
Run the following command to install Apache, PHP, and MariaDB:
sudo dnf install httpd mariadb-server php php-cli php-common php-fpm php-mysqlndThis will ensure all necessary services are available and primed for action.
Setting Up the System Environment
With your dependencies installed, it’s time to configure your environment to host Castopod. Start by enabling and starting Apache and MariaDB services with:
sudo systemctl enable httpd --now
sudo systemctl enable mariadb --now
Once these are running, secure your MariaDB installation by running sudo mysql_secure_installation. Follow the prompts to set a root password and tighten security settings.
Finally, adjust your firewall settings to allow traffic through ports 80 and 443 to ensure web access:
sudo firewall-cmd --permanent --add-service=http
sudo firewall-cmd --permanent --add-service=https
sudo firewall-cmd --reload
With these steps completed, your system is not just ready—but optimized—to host Castopod! Keep this setup handy, as a well-prepared environment is key to a seamless Castopod experience.
Downloading and Setting Up Castopod
Once your server environment is ready, it’s time to get your hands on Castopod. The installation process is straightforward, as long as you follow along step by step.
Acquiring the Latest Castopod Version
Start by downloading the latest version of Castopod. Head over to the [Castopod GitHub releases page](https://github.com/ad- aureum/castopod/releases) to find the most recent stable release.
Use wget to download the package directly to your server:
wget https://code.castopod.org/adaures/castopod/-/archive/v1.15.5/castopod-v1.15.5.tar.gzThis ensures you’re always using the latest features and security fixes.
Unpacking and Configuring Files
With the file downloaded, it’s time to unpack it. Extract the contents of the tarball using:
tar -xzf castopod-v1.15.5.tar.gzMove the extracted files to your web directory:
sudo mv castopod /var/www/html/castopodNow, set the correct permissions to ensure everything runs smoothly:
sudo chown -R apache:apache /var/www/html/castopod
sudo chmod -R 755 /var/www/html/castopod
You’re now set up with the Castopod files in place. From here, you can proceed to configure Castopod to fit your needs, optimizing your setup for your podcasting venture. Exciting times ahead!
Configuring the Database for Castopod
With your environment set up, it’s time to create a database for Castopod. This step ensures that Castopod has a dedicated space to store all your podcast data efficiently. Let’s get straight into setting up MySQL or MariaDB for this purpose.
Setting Up MySQL/MariaDB
Begin by securing your MariaDB installation if you haven’t already. Run:
sudo mysql_secure_installationFollow the instructions to enhance security. Once that’s done, log in to the MariaDB shell with:
sudo mysql -u root -pEnter the root password you set earlier. Next, you’ll want to create a database and a dedicated user for Castopod. Use the following commands:
CREATE DATABASE castopod_db CHARACTER SET utf8mb4 COLLATE utf8mb4_unicode_ci;

CREATE USER 'castopod_user'@'localhost' IDENTIFIED BY 'strong_password';

GRANT ALL PRIVILEGES ON castopod_db.* TO 'castopod_user'@'localhost';

FLUSH PRIVILEGES;
EXIT;
Remember to replace 'strong_password' with a secure password. With these steps, your database is ready, securing a solid foundation for Castopod to manage your podcast endeavors efficiently.
Configuring the Web Server for Castopod
Your podcast platform needs a reliable server to run smoothly, and both Apache and Nginx are solid choices. Here’s how to configure your web server to ensure Castopod is ready to broadcast.
Apache Configuration for Castopod
Starting with Apache, you’ll need to set up a virtual host to serve Castopod effectively. Begin by creating a new configuration file, which you can do with:
sudo nano /etc/httpd/conf.d/castopod.confIn this file, paste and customize the following configuration:
    ServerName yourdomain.com
    DocumentRoot /var/www/html/castopod/public

        AllowOverride All
        Require all granted

    ErrorLog ${APACHE_LOG_DIR}/castopod_error.log
    CustomLog ${APACHE_LOG_DIR}/castopod_access.log combined
Don’t forget to update yourdomain.com to your actual domain name. Save the file and restart Apache:
sudo systemctl restart httpdUsing Nginx with Castopod
Alternatively, if you prefer Nginx, you’ll need a slightly different setup. Start by creating a new configuration file:
sudo nano /etc/nginx/conf.d/castopod.confInsert the following configuration, making necessary adjustments to match your domain and file paths:
server {
    listen 80;
    server_name yourdomain.com;

    root /var/www/html/castopod/public;
    index index.php index.html;

    location / {
        try_files $uri $uri/ /index.php?$query_string;
    }

    location ~ .php$ {
        include fastcgi_params;
        fastcgi_pass unix:/run/php-fpm/www.sock;
        fastcgi_index index.php;
        fastcgi_param SCRIPT_FILENAME $document_root$fastcgi_script_name;
    }

    error_log /var/log/nginx/castopod_error.log;
    access_log /var/log/nginx/castopod_access.log;
}
Again, replace yourdomain.com with your domain. Save the file, then test and reload Nginx:
sudo nginx -t
sudo systemctl reload nginx
With your web server configured, Castopod is now ready to deliver your podcast content to the world. Get excited—your platform is nearly complete!
Conclusion: Verify and Launch Castopod on AlmaLinux 10
Congratulations on reaching the final stretch of setting up Castopod on your AlmaLinux 10 server! Now, it’s time to verify everything and launch your podcast platform.
First, head over to your web browser and enter your server’s domain name. You should be greeted by the Castopod setup page. This indicates that your server is properly serving the application.
Follow the on-screen instructions to configure Castopod with your database details, ensuring you input the database name, user, and password accurately. It’s crucial these details match what you set up earlier.
Once done, take a moment to test and tweak the settings as needed. Check your site’s responsiveness, your ability to upload audio files, and any settings that fine-tune your podcasts to perfection.
With everything running smoothly, it’s time to hit that launch button and start creating! Your podcast platform isn’t just operational—it’s ready to make waves in the audio world. Enjoy the journey ahead as you share your stories, insights, and creativity with the world.


