Are you tired of scrolling through endless folders to find your favorite tracks? Subsonic can help turn your CentOS 9 Stream machine into a personal media streaming powerhouse. With Subsonic, enjoy seamless streaming of your music collection from anywhere, for any device.
In this guide, we’ll walk through a simple installation and configuration process for Subsonic on CentOS 9 Stream. Whether you’re a seasoned server user or a complete newbie, this post will equip you with the Jedi skills needed to get your media server humming.
We’ll cover every step: from installing Java (a Subsonic prerequisite) to configuring Firewalld for secure access, ensuring all your bases are covered. Before you know it, you’ll be streaming like a pro, accessing your playlists in the blink of an eye.
So, grab your favorite beverage and let’s dive into setting up Subsonic!
Preparation and Requirements
Before diving into the installation, let’s ensure your CentOS 9 Stream setup is ready to roll. First off, make sure your system is fully updated. Execute:
sudo dnf update -yNext, confirm you have wget installed to download files from the internet. If you don’t, no worries! Simply run:
sudo dnf install wget -ySubsonic requires Java to run smoothly. You can verify your Java installation by typing:
java -versionIf Java isn’t present, let’s grab the latest version of OpenJDK:
sudo dnf install java-11-openjdk -yFurthermore, ensure you have sufficient storage space. A few GBs should suffice, depending on your media collection size.
Lastly, consider configuring a static IP for your server to keep things stable when accessing your media across different devices. If you’re confident navigating your router, it’s a simple yet effective step.
With these essentials checked off, you’re all set to jump into the fun bits of setting up Subsonic!
Install Subsonic on CentOS 9 Stream
Now that your system is prepped and ready, it’s prime time to get Subsonic downloaded and running.
Download the Subsonic package
To kick things off, head over to the Subsonic download page and grab the latest .rpm package, or simply open your terminal and run:
wget https://your_download_link.rpm(Replace your_download_link with the actual URL of the latest Subsonic package.)
This command will swiftly download the Subsonic package to your home directory.
Install necessary dependencies
Before diving into the installation, let’s tackle the dependencies. Subsonic relies on several packages to function optimally. Thankfully, a simple command will sort this out:
sudo dnf install ffmpeg lame -yThese are the go-to tools for media processing, ensuring smooth playback and transcoding.
With your dependencies lined up, it’s time to install the Subsonic package. Execute:
sudo rpm -ivh subsonic-x.x.debRemember to replace x.x with your downloaded version number.
Once complete, you’re just a step away from hosting your own streaming service. Stay tuned for configuration tips!
Configuring Subsonic for Optimal Performance
With Subsonic successfully installed, it’s time to fine-tune your server for the best performance and security.
Adjust firewall settings
First up, adjusting your firewall settings is essential to ensure your media server is accessible yet secure. By default, Subsonic listens on port 4040. Let’s open this port using Firewalld:
sudo firewall-cmd --permanent --add-port=4040/tcp

sudo firewall-cmd --reload
These commands ensure uninterrupted streaming while maintaining your system’s defenses.
Configure Subsonic settings
Next, jump into Subsonic’s settings to tailor the experience to your liking. Access Subsonic via your web browser by navigating to http://your_server_ip:4040.
Once logged in, dive into the settings menu. Start by setting a secure admin password to guard your media realm. Next, explore the media folder settings to add music directories, enabling easy library management.
Consider adjusting the transcoding settings under the “Transcoding” tab for optimal playback on various devices. Feel free to tweak other settings, like user permissions and network configurations, to suit your preferences.
With these adjustments, Subsonic is not only functional but perfectly tuned to deliver high-quality streaming tailored just for you!
Access and Manage Subsonic Media Server
With configuration out of the way, let’s make sure that you and your family or friends can enjoy the musical bounty your server dishes out.
Set up user accounts
To start sharing the groove, setting up user accounts is a must. Within the Subsonic web interface, head to the “Users” section. Here, you can create individual accounts with personalized settings and playlists. Assign user roles based on access needs—perhaps a “Guest” account for visitors or more tailored privileges for family members.
This way, everyone enjoys a tailored experience with their favorite tunes front and center!
Access Subsonic via the web interface
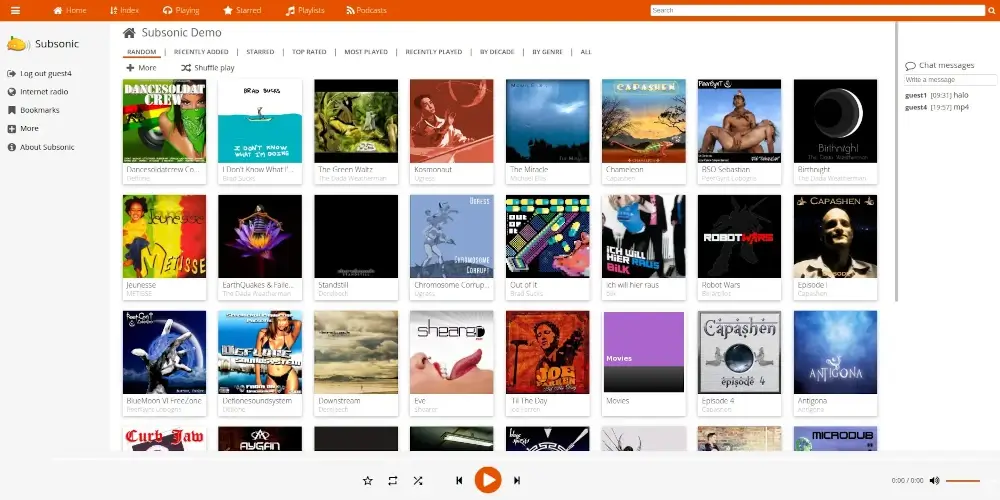
Accessing Subsonic is a breeze! Just fire up your web browser and navigate to http://your_server_ip:4040. Here, users can log in using their credentials and explore the media library. The intuitive interface means even non-techies can navigate with ease.
For added convenience on the go, consider downloading Subsonic mobile apps. With features at your fingertips, enjoy your media from anywhere globally—whether it’s streaming or downloading for offline enjoyment.
By setting up user accounts and leveraging the web interface, your server becomes a personalized jukebox ready to rock any situation!
Conclusion
Congratulations! You’ve transformed your CentOS 9 Stream machine into a fully functioning Subsonic media server. With the combination of seamless installation, strategic configuration, and intuitive access, your music library is now a versatile streaming hub.
This setup not only serves your needs but invites friends and family to personalize their listening experiences. The process empowers you to take media management into your own hands while offering scalable options for more advanced uses down the line.
Now, sit back, relax, and hit play on your newly curated atmosphere. Whether you’re a casual listener or an avid music lover, Subsonic opens a world of possibilities for enjoying your media collection anytime and anywhere. Enjoy the symphony!


