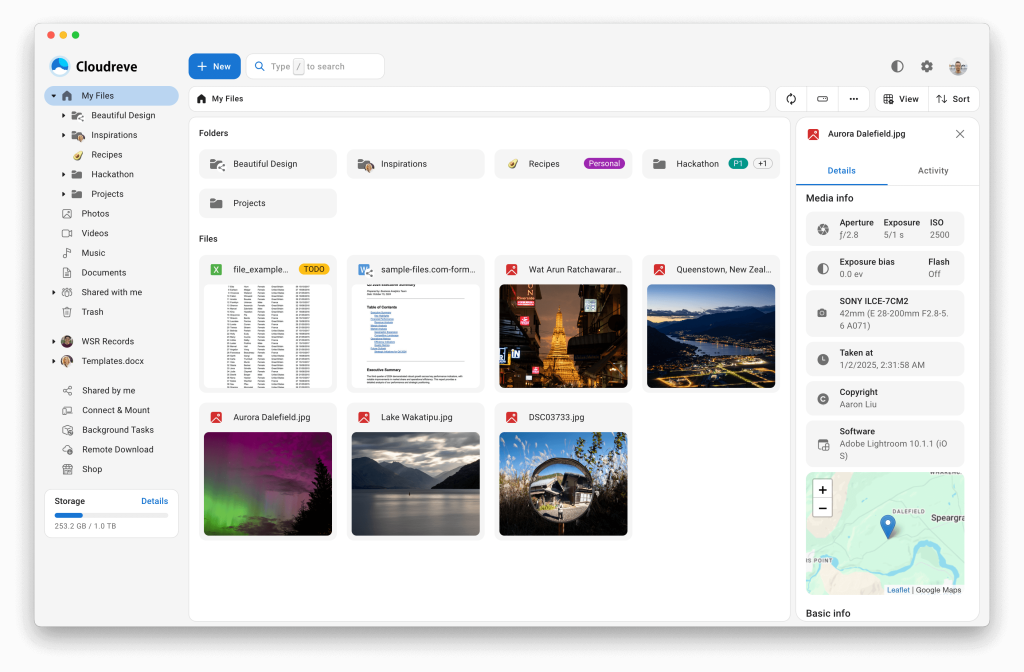
Ever found yourself scouring the internet for the perfect file hosting solution to manage cloud storage with ease? Look no further, as Cloudreve is here to streamline your data management tasks.
Cloudreve is an open-source cloud storage platform designed for effortless file hosting that you can control. And if you’re using Debian 13, you’re in luck! This comprehensive guide will take you through the process of installing and configuring Cloudreve on your Debian system.
We’ve broken down the steps into simple, clear instructions to ensure everything is straightforward and hassle-free. Soon, you’ll have a robust, self-hosted cloud storage solution up and running, tailored precisely to your needs.
Dive in, and let’s get started on setting up Cloudreve to revolutionize your file hosting experience.
Installing Cloudreve on Debian 13
Ready to embark on your Cloudreve journey? Let’s ensure everything is set for a smooth installation on your Debian 13 system.
Prerequisites for Installation
Before diving into the installation, a few prerequisites need attention to pave the way for Cloudreve. First, ensure you have administrative access to your Debian 13 system—this is crucial for executing commands and setting up the necessary configurations. Make sure your system is up-to-date by running sudo apt update && sudo apt upgrade.
You’ll also need to install essential packages including wget and unzip. If they aren’t already present, install them with:
sudo apt install wget unzipLastly, confirm that you have a non-root user with sudo privileges and access to your system’s terminal or SSH.
Downloading Cloudreve
With all prerequisites in place, the next step is to download Cloudreve. Head to the Cloudreve GitHub releases page to grab the latest version. You can use wget for a seamless download:
wget https://github.com/cloudreve/Cloudreve/releases/download/vX.Y.Z/Cloudreve-vX.Y.Z-linux-amd64.zipMake sure to replace vX.Y.Z with the latest version number.
Once downloaded, extract the files using:
unzip Cloudreve-vX.Y.Z-linux-amd64.zipNow that Cloudreve is downloaded and unpacked, you’re just a few steps away from experiencing streamlined cloud storage! Stay tuned for the next segment where we’ll configure and set up your instance.
Configuring Cloudreve After Installation
With Cloudreve installed, it’s time to configure it to suit your needs best. This part of the setup focuses on getting your Cloudreve server running smoothly.
Initial Configuration Steps
To kick things off, navigate to the directory where Cloudreve was extracted. Inside, you’ll find the Cloudreve binary, which you’ll need to start the server:
./cloudreveRunning this command for the first time generates a configuration file. Once the server is up, open your web browser and go to http://localhost:5212. You’ll land on Cloudreve’s login page.
The default admin account is automatically created. Look for the initial admin credentials in the terminal output when you first ran Cloudreve. Use these details to log in and start tailoring your setup immediately.
Setting Up Storage Options
Now that you’re logged in, head to the admin panel to set up storage options. Cloudreve supports various storage backends, including local storage and cloud solutions like AWS S3.
In the dashboard, go to the “Storage” section. Here, choose your preferred storage type and specify necessary configuration details. If opting for local storage, define a directory to store your files.
Choose what’s best for your needs, save your settings, and voila! You’re all set, with Cloudreve configured to manage your files effortlessly.
Managing Users in Cloudreve
Once you’ve got Cloudreve set up, managing users effectively is the next step in harnessing its full potential. Let’s explore how easy it is to create and manage user accounts within the platform.
Creating and Deleting Users
To create a user, log into the admin panel and navigate to the “Users” section. Here, you can add new users by clicking on the “Create User” button. Fill in the essential details like username, email, and password. Customize their role and access level to ensure they have the permissions required for their tasks.
Deleting users is just as simple. In the “Users” section, locate the user account you want to remove, click on it, and select the delete option. Confirm the deletion, and the user’s data will be safely removed from your system.
With these straightforward steps, managing your Cloudreve users becomes a breeze, empowering you to control who has access to your cloud storage environment.
Securing Your Cloudreve Installation
Once your Cloudreve is up and running, security becomes paramount. Ensuring data privacy and secure access should be your next focus.
Enabling HTTPS with SSL/TLS
Securing your Cloudreve installation with HTTPS is crucial to protect data in transit. To enable SSL/TLS, you’ll need a valid SSL certificate. Let’s Encrypt offers free SSL certificates, making it a popular choice.
Begin by installing Certbot, a tool to obtain and renew SSL certificates:
sudo apt install certbotNext, stop your Cloudreve server temporarily and run Certbot’s standalone mode to acquire the SSL certificate:
sudo certbot certonly --standalone -d yourdomain.comReplace yourdomain.com with your actual domain. Follow the prompts, and you’ll have your certificate.
Now, configure Cloudreve to use the SSL certificate by editing your conf.ini file, usually located in the Cloudreve directory. Update the following lines with the paths to your certificate and private key:
[Server]
SSL = true
SSLKeyFile = "/etc/letsencrypt/live/yourdomain.com/privkey.pem"
SSLCertFile = "/etc/letsencrypt/live/yourdomain.com/fullchain.pem"
Restart Cloudreve, and voila! Your server now communicates over HTTPS, enhancing security for both you and your users.
Conclusion
Congratulations! You’ve successfully navigated the journey of installing and configuring Cloudreve on Debian 13. With its user-friendly interface and comprehensive storage capabilities, Cloudreve is a powerhouse ready to cater to your file hosting needs.
By following these steps, you now have a fully operational cloud storage system that is secure, customizable, and completely under your control. Whether you’re managing personal files or setting it up for a larger team, Cloudreve adapts seamlessly to your requirements.
Remember, the key to leveraging the full potential of any tool lies in exploration and practice. Feel free to dive deeper into Cloudreve’s features and customize it further to meet your specific needs.
Thanks for sticking with the guide, and happy file hosting!


