Webmin is a fantastic open-source tool that brings a user-friendly web interface for system administration tasks, allowing you to manage users, services, and settings without diving into the terminal.
AlmaLinux 9 is recognized for its robustness and stability, making it a great candidate for hosting websites and applications. Combining this with Webmin creates a powerful setup where control is at your fingertips.
In this guide, we’ll walk you through every step to install and configure Webmin on your server. Whether you’re a seasoned admin or just getting started, you’ll find the process straightforward. Get ready to streamline your server management workflow and take full control with ease!
Installing Webmin on AlmaLinux 9
Preparing Your System
Before diving into the installation, let’s ensure your system is ready. Start by updating your package manager to get the latest software versions and dependencies. Open your terminal, and execute these commands:
sudo dnf update -y
Next, install the necessary dependencies for Webmin to ensure smooth operation. Run the following:
sudo dnf install perl -y
Having your system up-to-date and prepped with essential tools makes the installation process seamless.
Downloading the Webmin Package
With your system ready, it’s time to download Webmin. Use the terminal to obtain the latest Webmin RPM package directly from the Webmin website. The wget command is perfect for this task:
wget http://www.webmin.com/download/rpm/webmin-current.rpm
This will download the Webmin package straight to your current directory. Once the download is complete, you’re all set to proceed with the installation. Webmin’s small footprint means it’s quick to download and perfect even if you’re managing multiple systems.
Configuring Webmin After Installation
Setting Up Webmin for First Use
Once Webmin is installed, it’s time for some initial setup. Open your favorite web browser and navigate to https://your-server-ip:10000 to access the Webmin interface. You’ll encounter a security warning due to the self-signed certificate. Don’t worry, just proceed to the site.
Login using your root credentials. This first login sets the stage for a customized dashboard experience, tailored to your administrative needs. Spend a few minutes tweaking the dashboard layout and adding the widgets that are relevant for your tasks. This personalization will save you masses of time in the long run.
Configuring User Privileges in Webmin
Controlling user access is crucial for maintaining a secure environment. To configure user privileges, head over to the “Webmin” tab, and find “Webmin Users.” Here, you can add new users or modify existing ones, setting the specific modules they can access.
Create roles tailored to specific tasks, such as system monitoring or network configuration, by assigning permissions accordingly. This granular control ensures users have access to just what they need, enhancing both security and efficiency. Remember, a well-organized user policy is key to streamlined server management.
Accessing Webmin via Web Browser
Once Webmin is installed, accessing it is a piece of cake. Simply fire up your web browser and enter https://your-server-ip:10000. This URL leads you straight to the Webmin login page.
You might be greeted with a security warning due to the self-signed certificate Webmin uses. Don’t let it spook you; just proceed to the site while keeping an eye on security best practices. Log in with the credentials you configured during installation.
Webmin’s power lies in its accessibility. Whether you’re working remotely or on-site, a stable internet connection is all you need to manage your server efficiently.
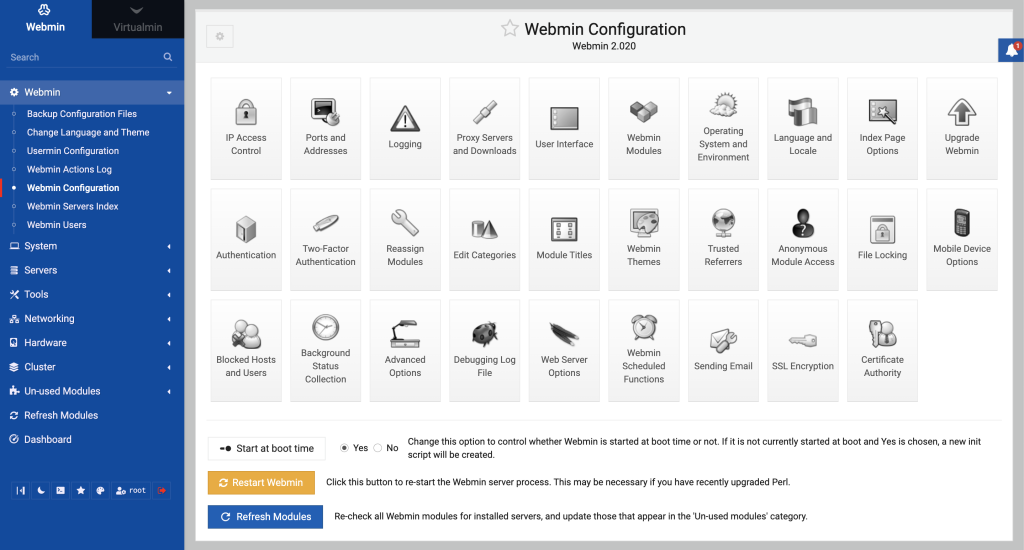
Understanding Webmin Interface
The Webmin interface is designed with simplicity in mind, aiming to put control at your fingertips. Once logged in, you’ll find a dashboard that neatly organizes system information and management tools.
On the left, a navigation menu lists modules for managing everything from system status and configuration to services and servers. Spend a moment exploring these modules to familiarize yourself with their functions.
Don’t be afraid to customize the layout of your dashboard. Adding or removing widgets ensures that you have quick access to the information and tools you use most, enhancing your productivity in server management.
Conclusion
With your newfound knowledge, installing and configuring Webmin on AlmaLinux 9 should now feel like a walk in the park. You’ve put the power of seamless server management within reach, and it’s bound to make your administrative tasks much more efficient.
Webmin’s intuitive interface, combined with AlmaLinux’s rock-solid foundation, provides a platform that is both versatile and reliable. Whether you’re managing servers for personal use or business, this setup simplifies complex tasks and enhances productivity.
Remember, server management doesn’t have to be intimidating. With the right tools and a user-friendly interface, you’re well-equipped to handle whatever comes your way.
Enjoy the ease and control that Webmin offers, and happy server managing!


